But applying roof coating only looks simple. Roll it on, let it dry, done — right? Not exactly. Results vary widely depending on your roof type, how well you prep the surface, the weather window you're working in, and the technique you use.
This guide covers when to coat, what you need, the exact steps, the variables that make or break the job, and the mistakes that cause most failures.
Key Takeaways
- Roof coatings (acrylic, silicone, polyurethane, ceramic) create a seamless, heat-reflective waterproof membrane
- Surface prep (cleaning, repairs, drying) causes most application failures when skipped or rushed
- Two thin coats consistently outperform one thick coat for durability and crack resistance
- Temperature, humidity, and a rain-free window determine whether a coating cures properly
- DIY suits small residential roofs; larger commercial roofs need professional-grade or ceramic systems
How to Apply Roof Coating: Step-by-Step
Coating a roof is a sequence, not a single task. Skip a step and the whole job is at risk.
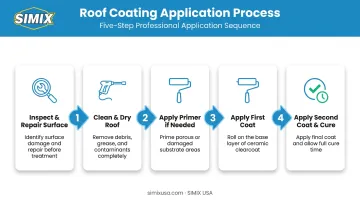
Step 1: Inspect and Repair the Roof Surface
The substrate has to be sound before anything gets coated. Walk the roof and check for:
- Damaged or curling shingles
- Rusted or corroded metal panels
- Cracked seams or lifted flashing
- Areas where water pools after rain
Patch cracks, reseal flashing, and reinforce weak seams with fabric and a compatible patching compound. Active leaks must be fixed first. A coating seals a surface. It does not repair a structural leak, no matter how many coats go on top of it.
Step 2: Clean the Entire Roof Thoroughly
Pressure wash the full roof surface to strip away dirt, chalk, moss, and loose debris. For smaller residential jobs, a hose and stiff brush can work almost as well.
Once clean, the roof needs to dry completely before anything else happens. GAF's liquid-applied roofing manual requires at least 48 hours of dry time after pressure washing before coating begins (a solid benchmark, though drying time can run longer in humid climates).
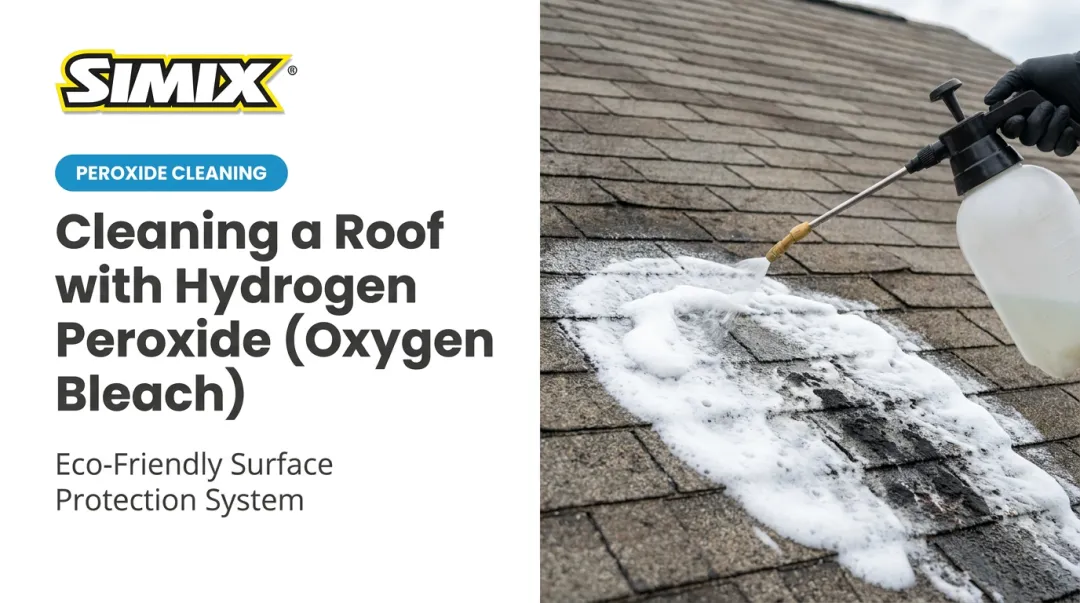
A simple touch test on a shaded section of the roof helps confirm the deck isn't trapping moisture underneath. SIMIX's two-step system follows this same logic: its peroxide-based degreaser cleans and preps the substrate, and the ceramic clearcoat goes on only once that surface is fully dry.
Step 3: Apply Primer (If Required by the Manufacturer)
Porous or chalky surfaces (concrete, bare metal, aged asphalt) usually need a compatible primer for proper adhesion. Skip this step on the wrong substrate and the coating may never bond correctly.
Apply primer evenly with a roller or brush, then let it dry fully per the label before touching it with a topcoat. Rushing this step wastes the prep work from Steps 1 and 2.
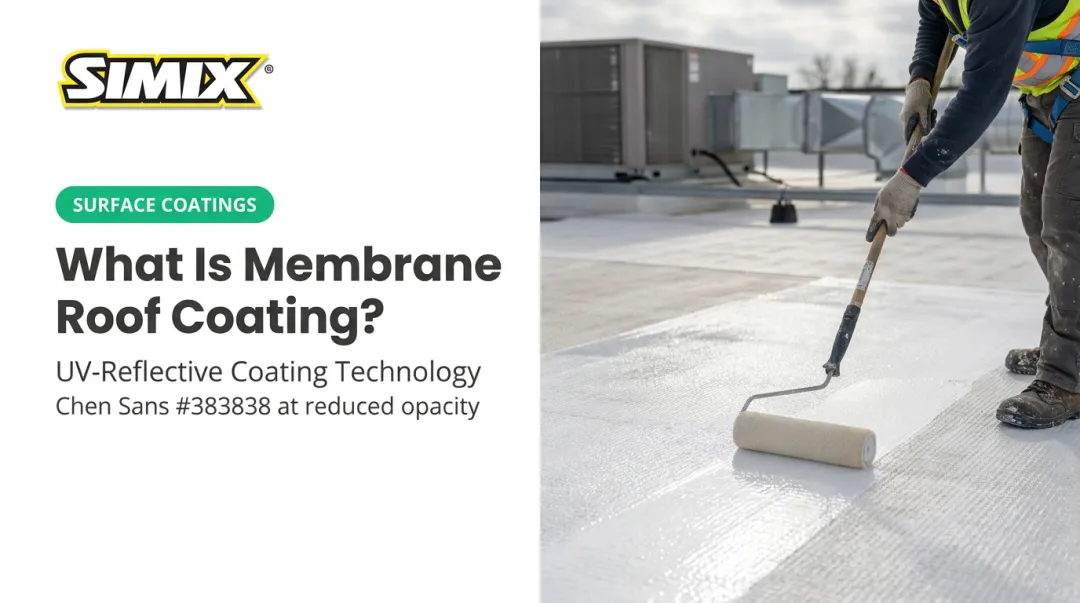
Step 4: Apply the First Coat
Work in manageable sections, keeping a wet edge as you move across the roof with a roller, brush, or sprayer.
- Brush the detail areas first: seams, edges, pipe penetrations, and flashing
- Roll the field in one consistent direction for full, even coverage
- Check the coverage rate on the product label, since it varies by coating type and thickness
Airless sprayers speed this up on large commercial roofs, but they demand more skill to avoid runs and thin spots.
Step 5: Apply the Second Coat and Allow Full Cure
Wait until the first coat passes a tack test before recoating; tacky, uncured coating won't bond properly with a second layer. Apply the second coat perpendicular to the first; this cross-hatch pattern, recommended in NRCA's Professional Roofing, improves uniformity and coverage.
Curing is not the same as surface drying. Full cure can take several days, and foot traffic should be avoided until then. Some ceramic systems, including SIMIX's roof clearcoat, call for additional thin passes (closer to four coats per the manufacturer's instruction sheets) since each layer goes on thinner than a standard acrylic coat.
Finish with a walk-through to check for missed spots, thin areas, or under-coated penetrations before calling the job done.
What You Need Before Applying Roof Coating
Equipment & Tools
Core tools for most jobs include:
- Pressure washer
- Roller frame with appropriate nap for the coating type
- Paint brush for detail work around seams and penetrations
- Wet film thickness gauge to confirm coverage matches the label
- Caulk gun for sealing cracks and flashing
Airless sprayers speed up large commercial jobs considerably, but they require more skill to avoid runs, drips, and thin spots, making them a poor starting point for a first-time DIY job.
Materials & Coating Selection
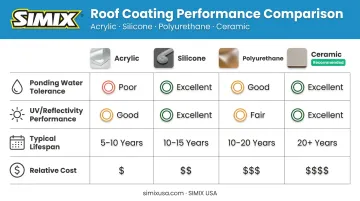
Coating chemistry should match both the roof substrate and the climate it will face. Acrylic, silicone, polyurethane, and ceramic systems each behave differently under sun, rain, and ponding water.
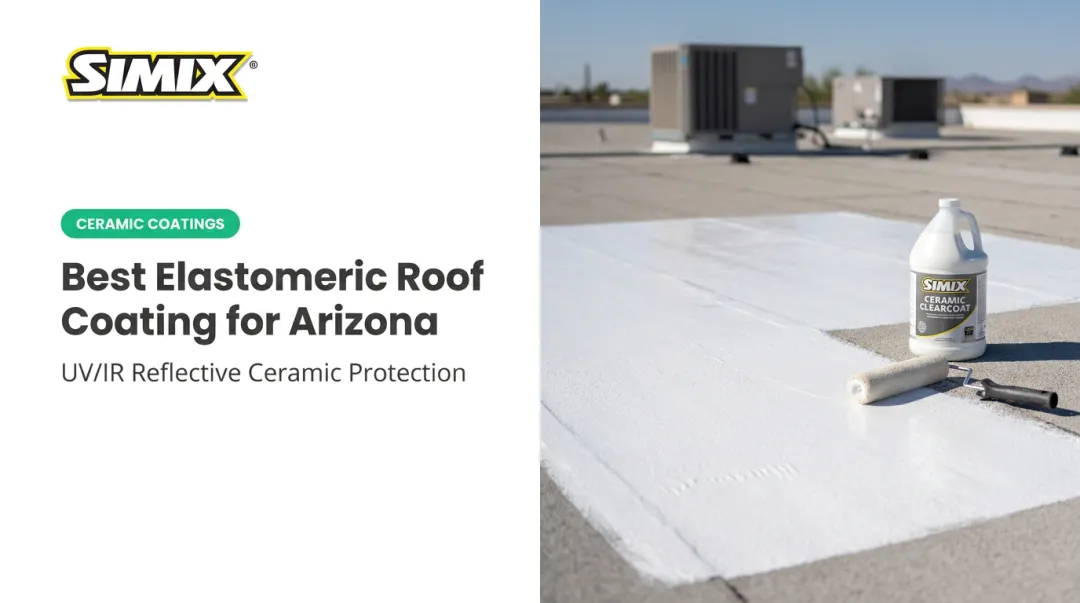
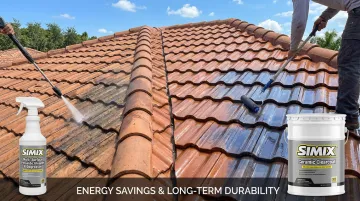
Ceramic-based systems occupy a specific niche here. SIMIX's roof coating solution is engineered to reduce roof energy consumption by 15-30%, with a 20-year longevity rating, a strong option for owners prioritizing long-term energy savings over the lowest upfront cost. It's applied as part of a two-step process: the Multi-Surface Peroxide Cleaner & Degreaser preps the substrate, then the Ceramic Clearcoat goes on in several thin passes.
Before buying, confirm:
- Coating rated for your specific substrate (metal, asphalt, membrane, etc.)
- Climate exposure matched to the product's UV and ponding tolerance
- Coverage rate on the label fits your roof's square footage
Safety Readiness
Basic safety needs before starting:
- Fall protection appropriate to the roof pitch and height
- Non-slip footwear (wet coating is slippery)
- Gloves rated for the chemistry being applied
- A check of local roofing codes and manufacturer warranty requirements before starting
Key Parameters That Affect Roof Coating Results
Outcomes depend heavily on a handful of controllable variables, not just which product you buy.
Temperature & Weather Window
Coatings need a specific air and surface temperature range, plus a rain-free curing window, to bond properly. This range isn't universal: some acrylics require 50°F and rising, while certain silicone products tolerate temperatures as low as 35°F. Rain-safe windows swing just as widely, from as little as 15 minutes to 8 hours depending on the product.
Applying outside the labeled range, or ahead of forecast rain, causes washout, poor adhesion, or an extended cure time. Always check the specific product's data sheet. Don't assume a generic rule applies.
Coating Thickness & Number of Coats
Manufacturers specify a wet or dry mil thickness per coat, and under-application is the leading cause of premature failure. NRCA's Professional Roofing confirms that two thinner coats generally outperform one thick coat for durability and crack resistance.
Here's why thickness matters so much:
- A heavy single coat can skin over before the solvent or water carrier fully escapes
- Trapped carrier causes cratering or washout during overnight rain or dew
- Thin, even coats promote full evaporation and a more consistent polymer film
Surface Type & Substrate Compatibility
Metal, asphalt shingles, built-up roofing (BUR), and single-ply membranes each call for different primers and coating chemistries. Mismatched combinations (silicone applied directly over an incompatible acrylic base, for instance) can cause delamination or void a manufacturer's warranty entirely.
Always confirm compatibility before buying:
- Check the coating's listed substrates on the label
- Confirm whether a primer is required for your specific surface
- Verify your existing coating (if recoating) is chemically compatible with the new product
Ponding Water & Drainage
Low-slope and flat roofs often hold standing water after rain. Some coatings, particularly standard acrylics, aren't built to tolerate that long-term. Prolonged ponding can degrade the film over time.
Silicone and ceramic coatings generally handle ponding conditions better than acrylic alternatives, which is why they're the more common pick for flat commercial roofs with drainage challenges. SIMIX's Multi-Surface Ceramic Clearcoat falls into this ceramic category and is formulated for demanding, ponding-prone flat-roof applications.
Common Mistakes and Troubleshooting Tips
Most coating failures trace back to a handful of avoidable errors:
- Skipping or rushing surface cleaning and drying — the single biggest cause of failure
- Coating ahead of forecast rain, or when surface temperatures exceed the manufacturer's limits
- Using one thick coat instead of two thin ones, which traps solvents and cracks over time
- Ignoring ponding areas or mismatching coating chemistry to the roof substrate
Even when the basics are covered, two failure patterns show up often enough to call out specifically:
Problem: Coating is blistering or peeling shortly after application. Likely cause: Moisture trapped under the coating from incomplete drying. Check for water intrusion points and confirm the deck was fully dry before that first coat went down.
Problem: Coating washed off or looks thin and patchy after a rain event. Likely cause: Application happened too close to a rain event, or the coat hadn't reached recoat-ready status. Review the product's rain-safe cure window, then reapply once conditions and thickness are corrected.
When Should You Apply Roof Coating (and What Are the Alternatives)?
Roof coating makes sense for roofs that are structurally sound but showing wear — chalking, minor leaks, or reduced reflectivity. It becomes inefficient, and sometimes risky, on roofs with extensive structural damage, widespread rot, or a deck nearing the end of its functional life.
Alternative: Full Roof Replacement
Replacement is the better call when the deck itself is compromised or the roof has already exceeded its serviceable lifespan. The trade-off is a higher upfront cost, offset by a fully reset roof lifespan rather than a restored one.
Alternative: Professional Ceramic or Elastomeric System Installation
For large commercial roofs or facilities that want documented energy savings and warranty-backed performance, a professional-grade ceramic or elastomeric system is often the better fit.
SIMIX's ceramic clearcoat, for example, is sold direct as a product (not installed by SIMIX itself), so facility managers typically pair it with their existing roofing contractor or maintenance crew. Compared to a basic acrylic DIY coating, the trade-off is higher material cost for greater durability and a measurable, documented reduction in energy use over time.
Frequently Asked Questions
How long should roof coating dry before rain?
Most coatings need at least 24 hours rain-free, and some silicone products call for up to 48 hours. Always check the specific product's data sheet before starting. This window varies more than most people expect.
Can I apply roof coating over an existing coating?
Yes, if the existing coating is clean, structurally sound, and chemically compatible with the new product. Recoating an incompatible chemistry (like silicone over an unverified acrylic base) risks delamination and can void your warranty.
How many coats of roof coating do I need?
Two coats applied in perpendicular directions provide full protection for most systems, though some ceramic products call for additional thin passes. Check your product's label for the exact requirement.
What temperature is best for applying roof coating?
Many acrylic coatings need 50°F and rising, while some silicone products tolerate a much wider range. Avoid direct afternoon heat and cold snaps alike, and always confirm the exact range on the data sheet.
Can you put roof coating on shingles or metal roofs?
Yes, but the coating must be specifically formulated for that substrate. Metal roofs often require a primer first, and not every coating is rated for asphalt shingles, so check the label before buying.
How long does a roof coating last before it needs to be reapplied?
Elastomeric and ceramic systems typically last 8 to 20 years, depending on coating type, local climate, and maintenance. SIMIX's ceramic clearcoat, for instance, carries a 20-year longevity rating when properly applied and maintained.